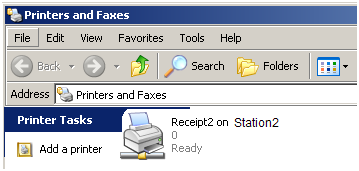
Restaurant Manager makes Windows printer set-up available for backward compatibility reasons. History has shown that print spoolers shipped with Microsoft Windows products have demonstrated erratic behavior. In addition, due to the incomplete nature of some Windows spoolers, orders tend to get lost and are unrecoverable. It is strongly recommended that you use RM Printer Spooler instead of Windows spooling. Using RM Spooler will greatly simply the installation and testing of shared printers from a central location.
Note: Please see the section for USB printers W/O RMSpool to see alternative setup instructions if the following instruction do not work.
Installing windows printers is a two step process. The first step is to setup the printer within windows, the second step is to complete the setup in RMSpoolsetup (exe). If installing a Windows printer continue with the following instructions:
Install the Windows Printer at the Local Station/Device
Go to the Printers folder. (Settings->Printers)
Click on the Add Printer Icon
Select "Local Printer", followed by Next
Select "Generic" in the Manufacturer list
Select "Generic/Text Only" in the Model list, followed by Next
Select "Keep existing driver", followed by Next
Choose the desired local port for the shared printer, followed by Next
Enter the printer Name (see above for recommended naming procedures)
Click on Finish. The printer will be added to the printers folder.
Select the Properties option for the printer
Select the Details tab
Set the "Not Selected" and "Transmission Retries" parameters to 1 (second)
Click on the "Port Settings" button
Select the correct baud rate, parity, word length and stop bits for the printer. Set the "Flow Control" to “hardware”
Select the Sharing Tab.
Select the "Shared As" radio button, and enter the desired name. If you are going to use the fileserver as a POS station, we recommend the shared name be the same as the local name.
Select the Paper Tab, and set the Paper Source to Continuous - No Page Break.
In the Spooler Setup, type in a unique name of the printer in the RM Printer Name field.
In the Spooler Setup, type in the computer name that will service this device in the Computer Name field
In the Spooler Setup, choose the “Windows Printer ” setting in the Printer Type field
IMPORTANT: The RESTAURANT MANAGER spooler sends printer information directly to the assigned serial and parallel ports WITHOUT going through the Windows printer drivers. This means that it cannot be used for printer output that requires a Windows printer driver, such as the printing of Gift Certificates. In general, RMSPOOL should only be used for prep-area printers. To avoid device conflict, the assigned ports should only be used with the RESTAURANT MANAGER Spooler. Make sure that any defined windows printers are not using assigned ports by either removing them, or changing the port. The RESTAURANT MANAGER™ Spooler does not work correctly with parallel ports that have a security device attached to them.
Next Topic "USB Printer Setup"