Once you have verified you have the Restaurant Manager correct build and RM Alert executable, you may proceed to download and install the registration form from the RM Monitor “Getting Started “web page (http://rmmonitor.rmpos.com- new users). It is important that RMAlerts.exe must be running during the download and registration process. If not and depending on the browser you use, you may receive a message on your internet browser that the current page cannot be displayed (IE) or can't establish a connection to the server at localhost:9645 (Firefox). In addition, you must register from the computer Restaurant Manager is installed on (i.e. rmserver). You may also access the Registration form through the RM BackOffice module by going to Setup > General > RM Monitor Registration. An alternative method is to open RM Alerts, click on Setup, and then select the RM Monitor Registration option.
To begin the registration process from the RM Monitor web site, click on the “New Users Register Your Establishment Now!” option on the Getting Started page. The following web page will appear (you will not see this message if accessing the Registration form from RM BackOffice or RM Alerts):
The next screen will be:
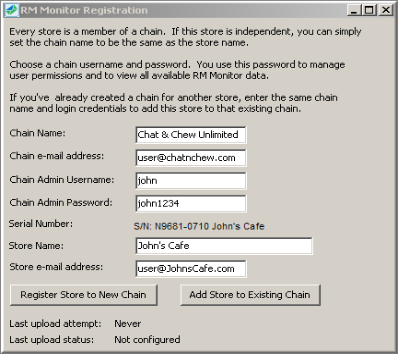
The following registration fields will need to be filled out:
Chain Name- Place the name of the chain in this field. If this is a single store operation (not part of a chain), enter the name of the restaurant itself (store name).
Chain E-mail Address- Enter the email address of the person who will be administrating user information or those who will have access to the store information. Separate users are setup under the RM Monitor Admin page for your chain.
Chain Admin Username- The name entered in this field will be used when accessing and managing the various aspects on the RM Monitor Admin page.
Chain Admin Password- The information entered in this field will be used when accessing the RM Monitor Admin page.
Serial Number- This field will be automatically filled in.
Store Name- This field will be automatically filled in based on the user license. However, you may edit the name if necessary as might be the case to denote a specific store in a chain.
Store E-mail Address- Enter the store’s email address in this field. This information placed here will appear in the Manage restaurant section of RM Monitor Admin
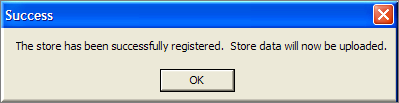
Once the necessary fields have been completed you will need to submit the registration by clicking on the “Register Store to New Chain” button. Use this button even if you are registering a single store for the first time. Upon pressing the “Register Store to New Chain” button, you will receive the following status screen a successful registration:
Clicking the “OK” button on the “Success” window will begin the uploading process:
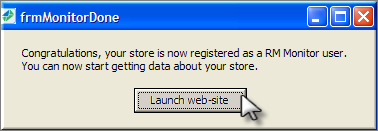
Next, you will receive the following screen upon a successful registration:
Your store has now been created on-line and is ready to be used. The next step will be to setup the device that will be receiving the store data. You will do this by clicking on the “Launch web-site” button on the screen or go to the RM Monitor web site and click on the “Get Data” tab and then choose from among the device options.